


UNO
GlowDuino Uno, an ergonomic and easy to use microcontroller board. The perfect board if you are developing a circuit with the ATmega-328 microcontroller.
Description
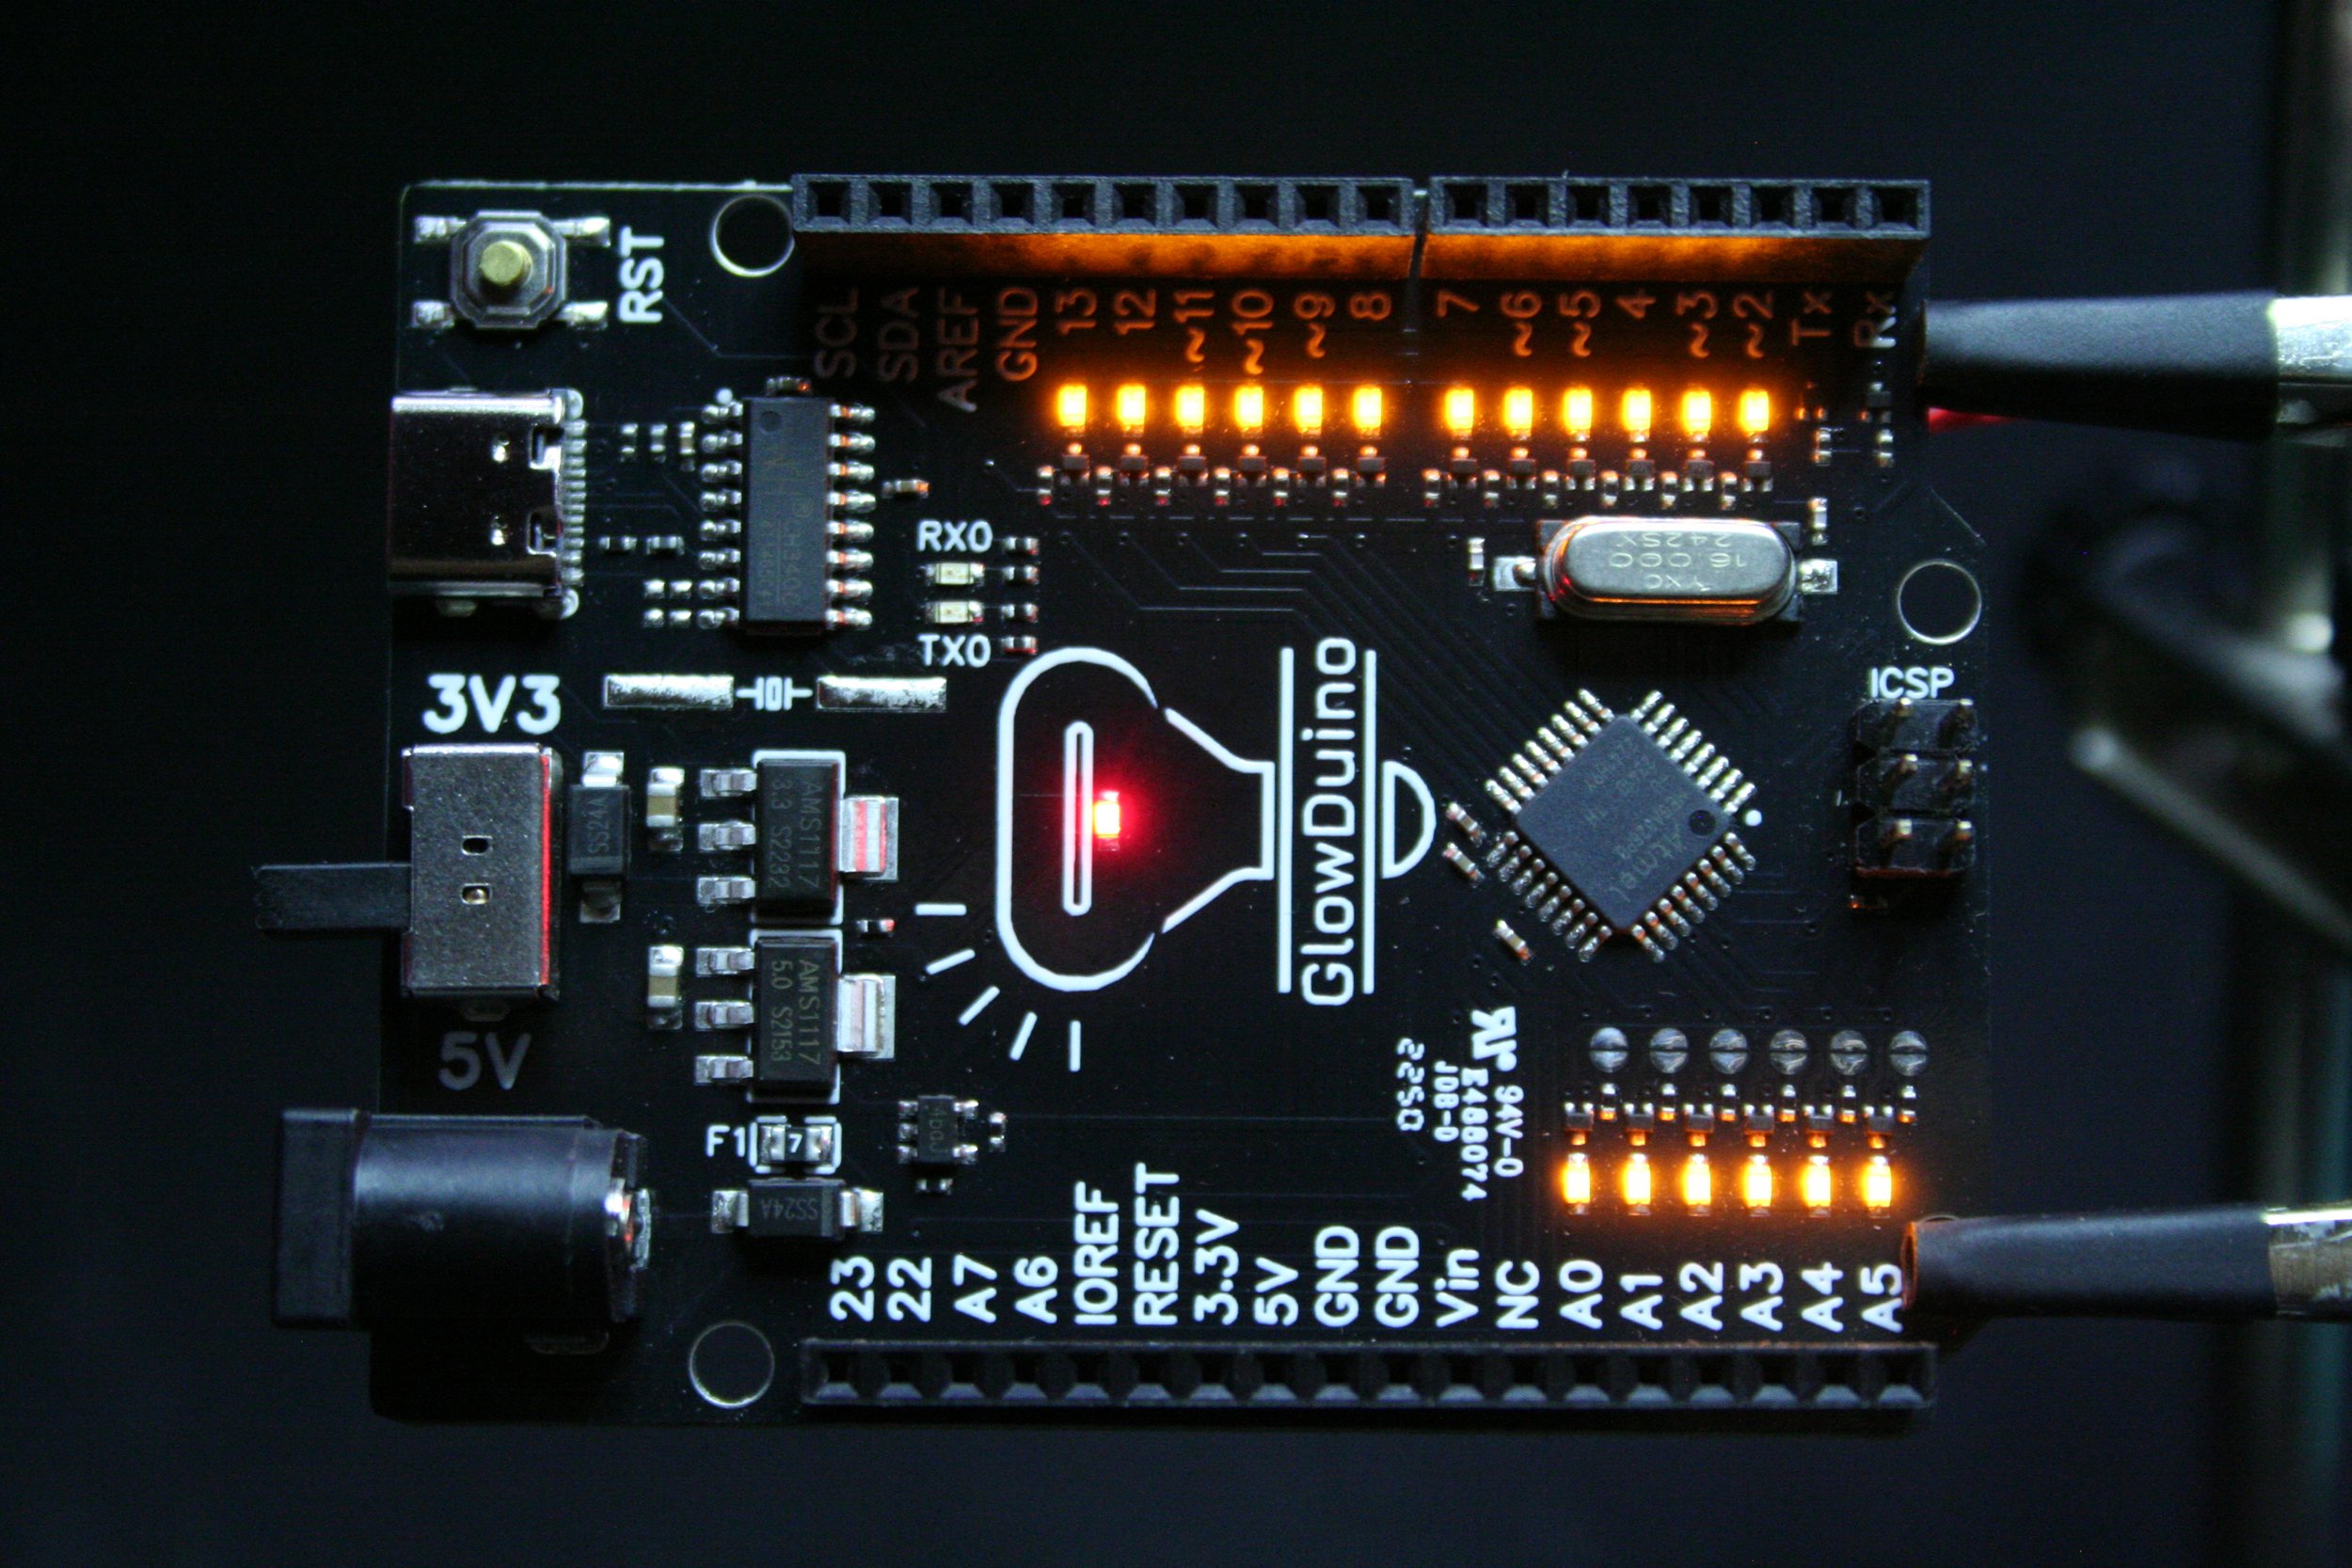
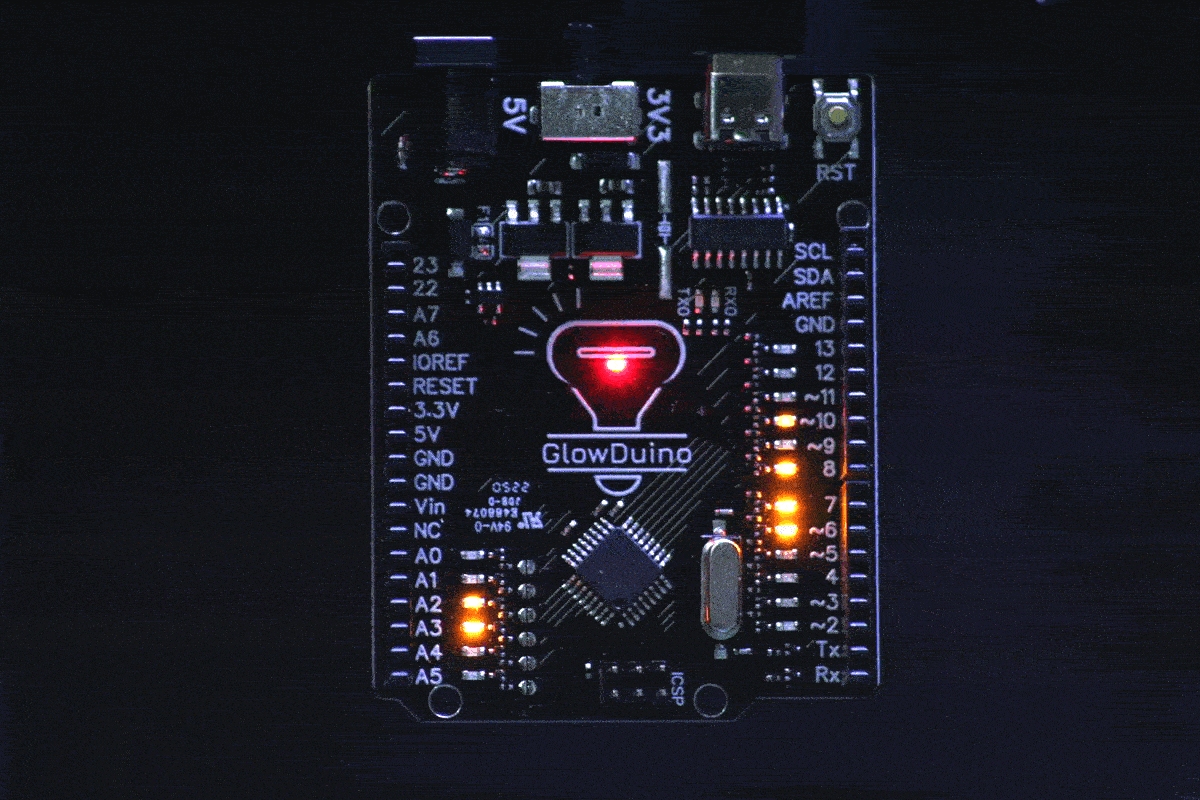
The GlowDuino Uno board is our entry into the microcontroller world. The first one in the future GlowDuino lineup. Based on the Atmega 328PB, it offers more pins and more functions than a regular Uno board while being backward compatible with existing designs. It offers 24 input/output pins, of which 8 can be used as analog input and 9 as PWM output.
Our goal is to make our designs based on the needs of the users. The GlowDuino Uno offers 1A power output on the 3.3V and 5V lines so you can connect more things up to your board. To help you with connection issues, each standard pin has an indicator LED, so you don’t have to measure to find where the problem is. For ease of use, you can power the board with USB C or with 6 to 20V through the power jack. In case you are using 3.3V-only attachments, you can change the output voltage with a flick of a switch.
Specifications
| Feature | |
|---|---|
| Chip | Atmega 328PB |
| Clock | 16MHz |
| Memory | 32k |
| SRAM | 2k |
| Max 5V current | 1A |
| Max 3.3V current | 1A |
| I/O current | 40mA |
| I/O pins | 24 |
| Analog inputs | 8 |
| PWM outputs | 9 |
| UART lines | 2 |
| I2C lines | 2 |
| SPI lines | 2 |
| Timers | 5 |
| USB connector | Type-C |
| I/O voltage | 5V/3.3V changeable |
Documentation
As with almost every design in the maker community, GlowDuino is open-source. Visit our GitHub page for more info about the Uno board: GitHub page
Using the new features
Follow the instructions in the Software and Installation folder in order to be able to use the board with the Arduino IDE software.
To use the additional four pins, you can refer to them in the program by their name written on the board (22,23,A6,A7). The digitalRead and digitalWrite function works on these pins as well.
Using both serial ports in Arduino IDE works by referring to them as Serial and Serial1 (for serial 0 and serial 1).
To use the second I²C interface, update the IDE package version to 2.0.3 or higher. After that, you can include the Wire1.h library into your sketch and address it as Wire1. Similarly, you can use the second SPI interface as well. Include the SPI1.h library into your sketch and address it as SPI1.
In case you do not wish to use any of the new features, you can upload a generic Arduino Uno bootloader to your GlowDuino Uno via the ICSP header. When uploading, make sure to use the -f option in avrdude to disregard the IC signature mismatch. Once uploaded, the microcontroller will behave just like an Arduino Uno would. The voltage level changer switch will still work but none of the other features will be accessible.
Pin differences
Every pin with an indicator LED has a pull-down resistor with a value of 665 kilo ohms. This means these pins are not floating pins. In our testing, this does not interfere with analog or digital measurements and causes no disturbance when using capacitive touch sensing. However, you will not be able to use such an analog pin for nondeterministic operations, such as random number generation. For these purposes, you can substitute these pins with either the A6 or A7 analog pins, which do not have pull-down resistors and as such are considered floating pins.